Uploading Supporting Documents and Images
Blume allows you to upload supporting documents, images, and DICOM files directly from your Profile section. Any files uploaded during the Self-Scheduling process will also appear under the Documents tab in your profile for easy access.
Uploading Documents During Self-Scheduling
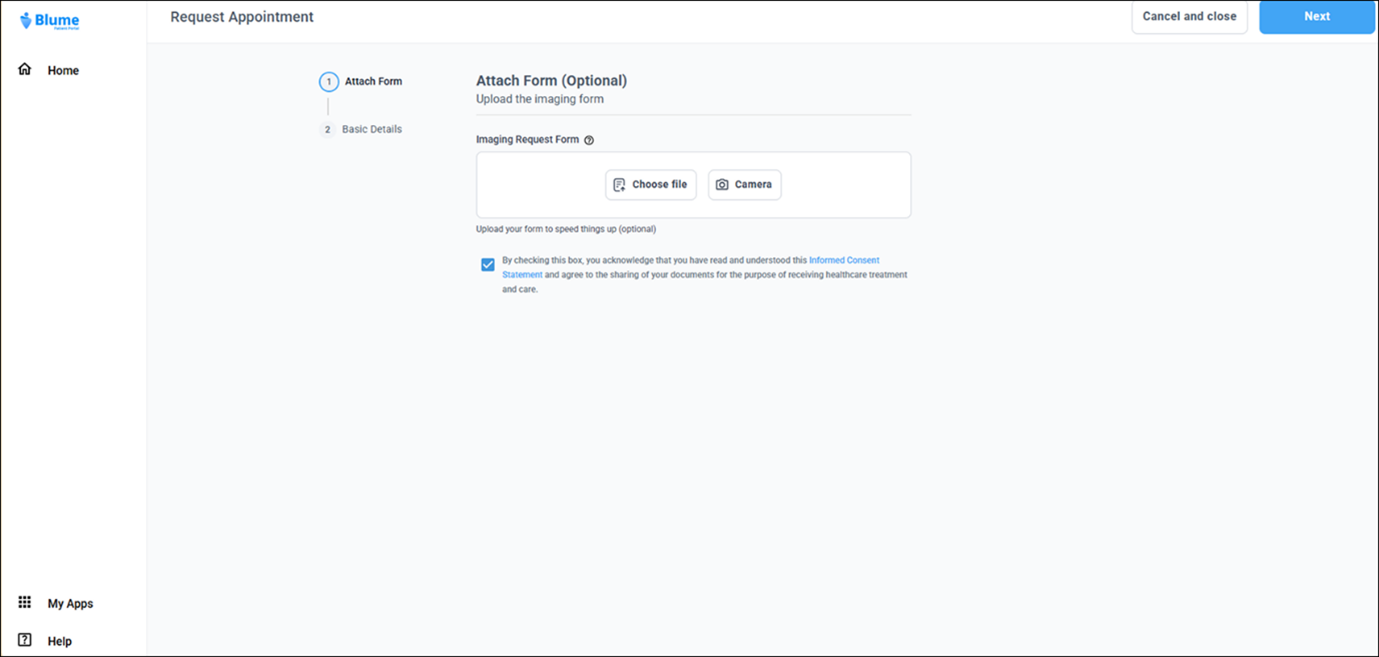
When self-scheduling an appointment, you may be required to upload additional supporting documents. You can do this by following the steps below:
- Click Choose File to upload a form or document from your device.
- On mobile, you may capture and upload an image directly using your device camera.
- All uploaded files are automatically converted to PDF.
Uploading Documents from the Profile Section
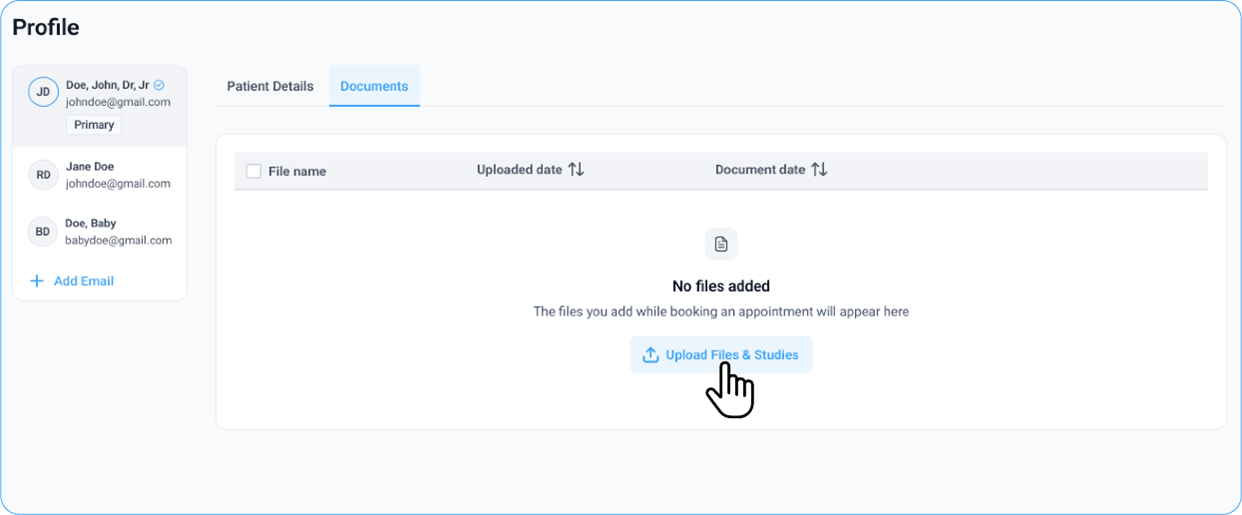
- Go to the Profile section by clicking your username on the top-right corner of the Home page and selecting Profile from the menu.
- Open the Documents tab.
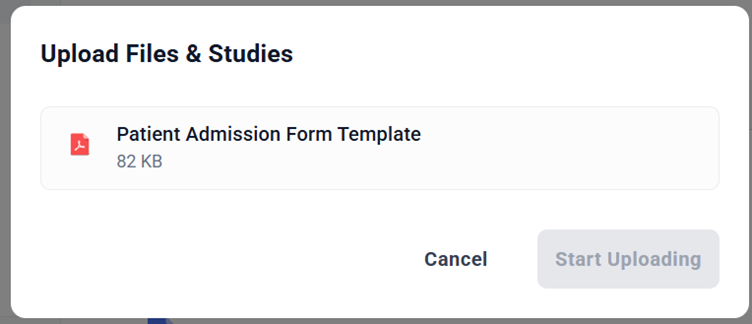
- Click the Upload Files and Studies button.
-
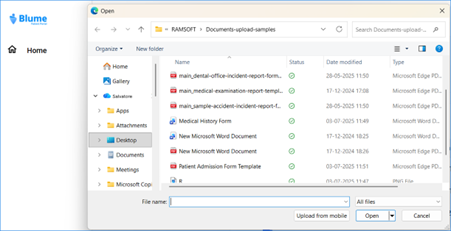
Select the files you want to upload from your device and click Open.
-
After selecting the files, click Start Uploading.
- A progress tracker will appear at the bottom left of the screen showing the upload status.
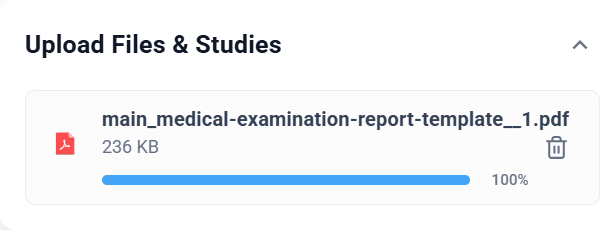
- Once the upload is complete, you will see a confirmation message: “Uploaded Successfully.”

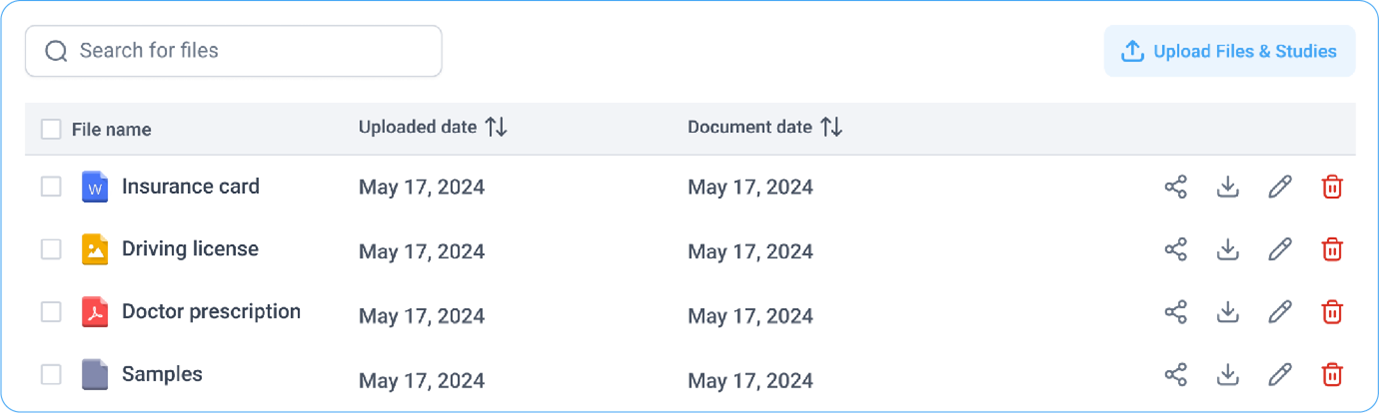
- The uploaded files will now be listed under the Documents section.