Uploading and Managing Documents on Blume
Overview
The Upload Supporting Document feature in the Blume app allows you to upload documents, such as prescriptions, ID proofs, or previous medical reports, directly from your device. These files are linked to your scheduled medical studies and are instantly visible to imaging centers. You can upload PDFs, images (JPEG, PNG), or DOC files from your device and phone's storage, camera, or file apps. The Documents section allows users to upload, organize, and manage patient-related files in a single, centralized view.
A. Accessing the Documents Section
You can find the Documents section on the Patient Page.
To access it:
- From the Homepage, click your name at the top-right corner.
- Select "Profile" from the dropdown menu.
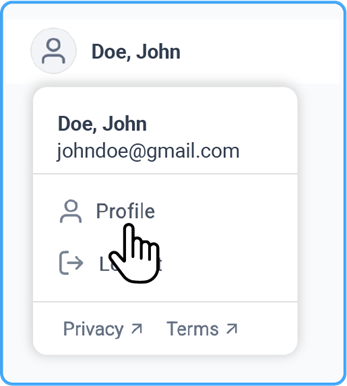
- You’ll be directed to the Patient Page, where the Documents section appears beside the Patient Details panel.
B. Uploading Documents
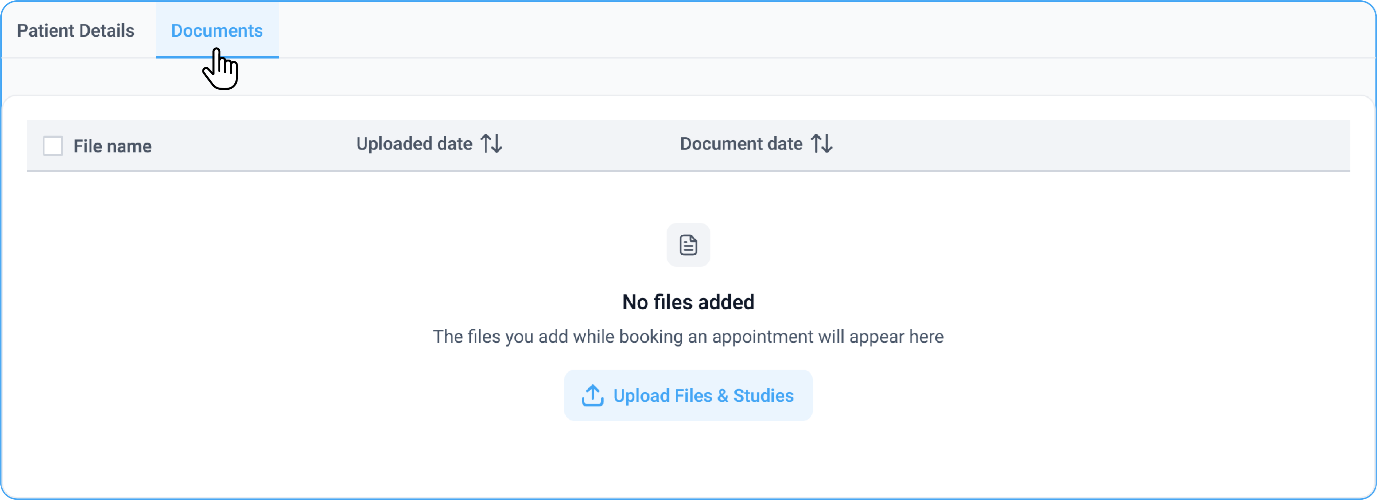
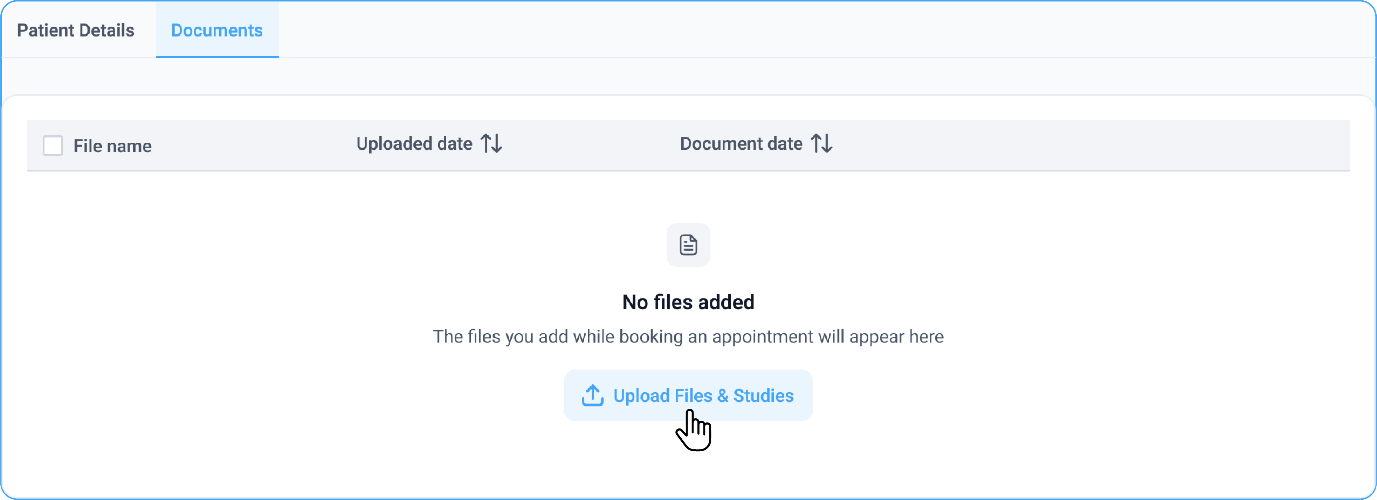
- Click Upload Files and Studies under the Documents section.
- Choose one or more files from your device.
- Click Start Uploading to begin the process.
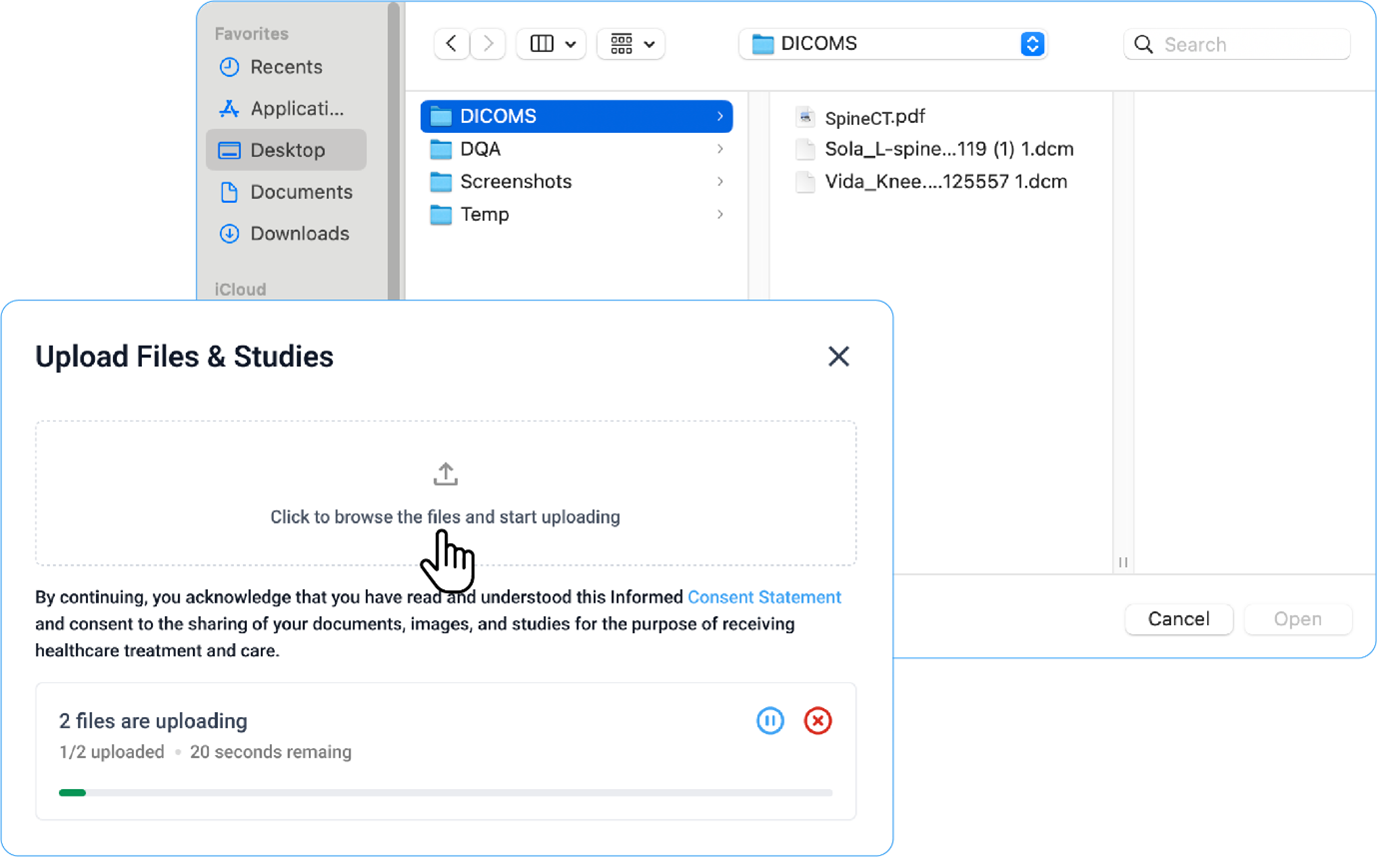
- A progress notification appears at the bottom-left of the screen, showing the upload status.
- Once complete, a success message confirms that your files have been uploaded.
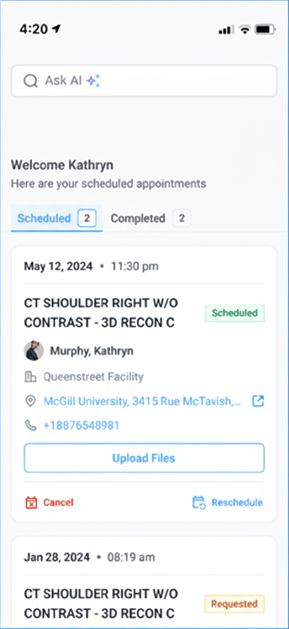
Uploading Supporting Documents for a Scheduled Study
- Open the Blume app and go to Scheduled Appointments.
- Select your appointment and tap:
- Upload Files if no Upload Supporting Documents exist, or
- Upload Supporting Documents to view or add more files.
- Choose a file from your device, capture a photo, or browse using a file app.
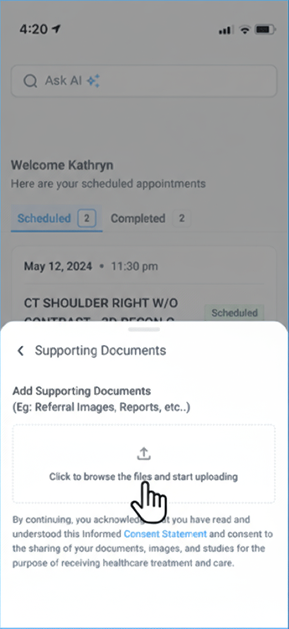
- Confirm the upload. Your files will appear under the Upload Supporting Documents section.
Note:
Documents uploaded from the Scheduled Appointments section on the homepage are automatically listed in the Documents section.
C. Understanding Document Details
Each document entry displays key information and available actions.
Below are the main attributes and features:
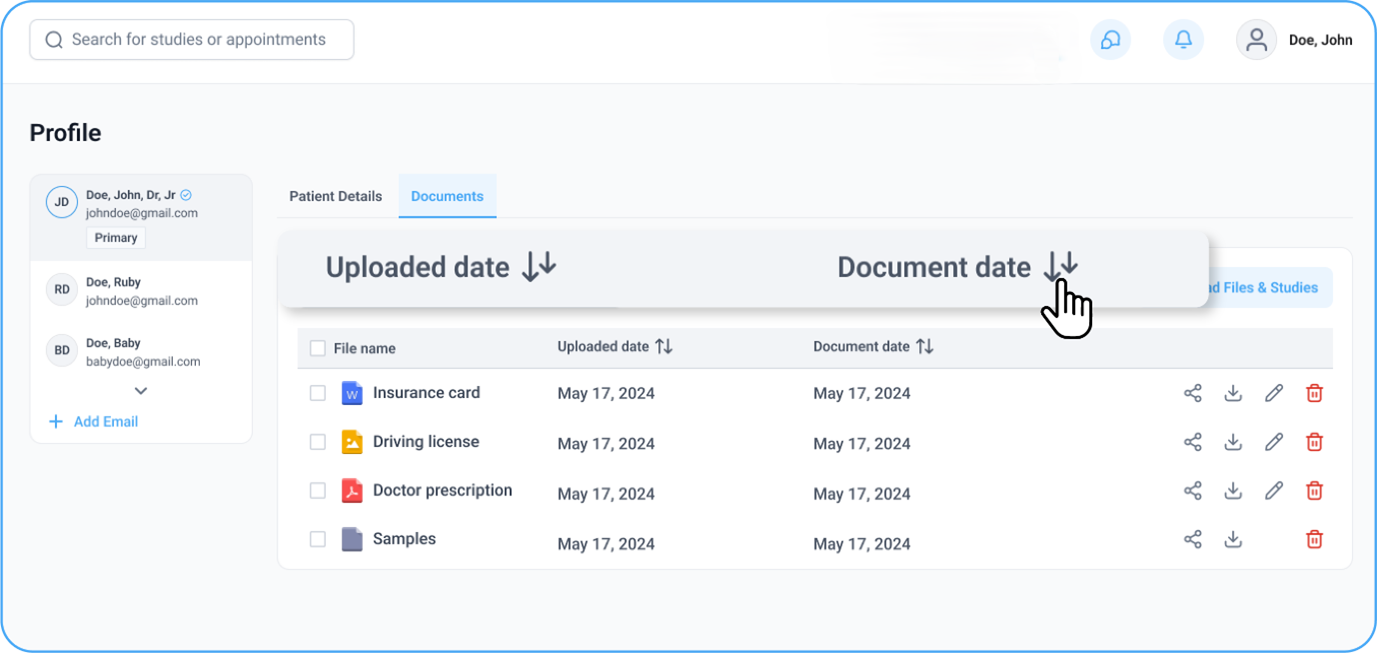
Unified View
- Earlier, image and DICOM files were listed separately.
- Now, all uploaded files appear in a single list for easier management.
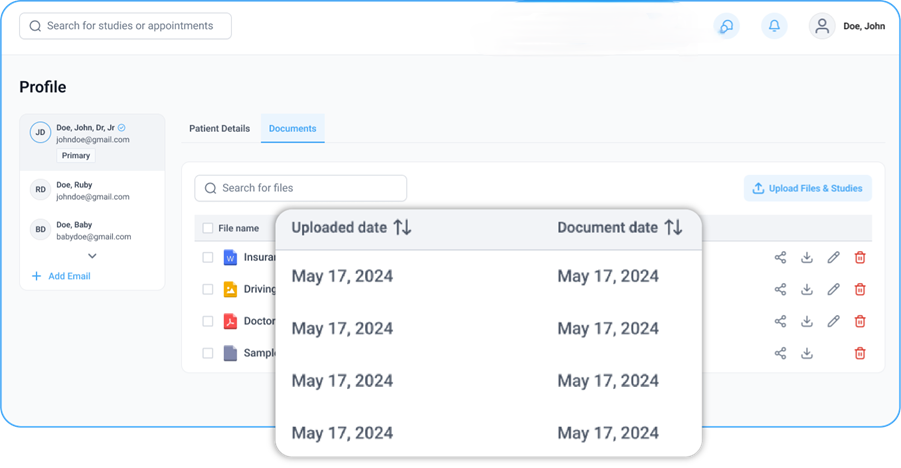
Displayed Details
- Upload Date – The date when the document was uploaded to the portal.
- Document Date - The original file creation date (when the document was created or saved on your system).
- For example: If a file was created five days ago and uploaded today,
- Upload Date: Today’s date
- Document Date: Five days earlier
- For example: If a file was created five days ago and uploaded today,
- This helps differentiate between when the file was made and when it was uploaded.
DICOM Files
- For DICOM uploads, the Instance Creation Date is used as the Document Date.
- DICOM metadata cannot be manually modified.
Sorting Options
- Use the Sort By feature to organize documents based on:
- Upload Date, or
- Document Date
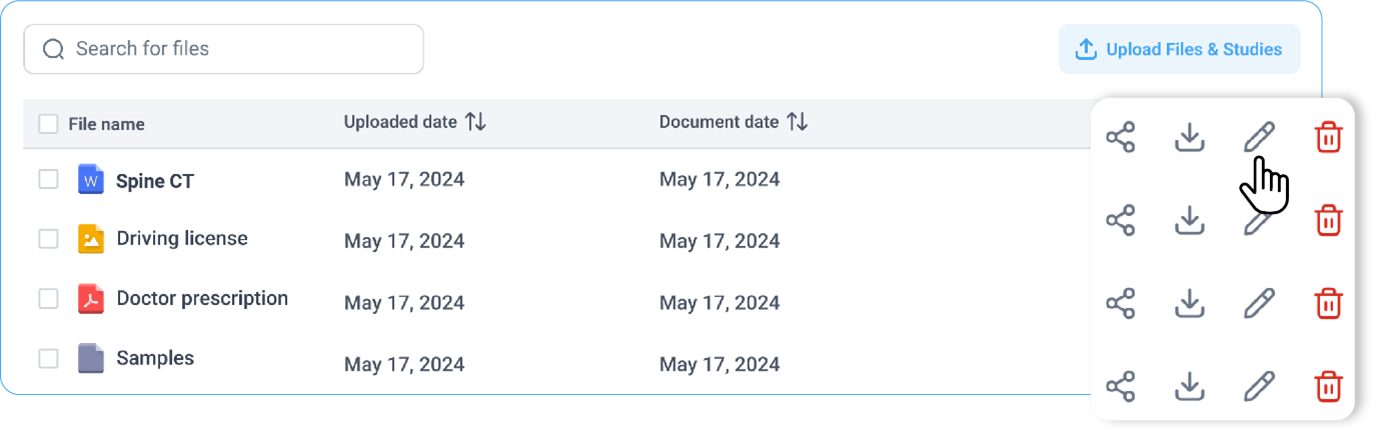
D. Editing Documents
Users can update document details for non-DICOM files. To edit:
- Click the Edit (pen) icon located to the far right of the document name.
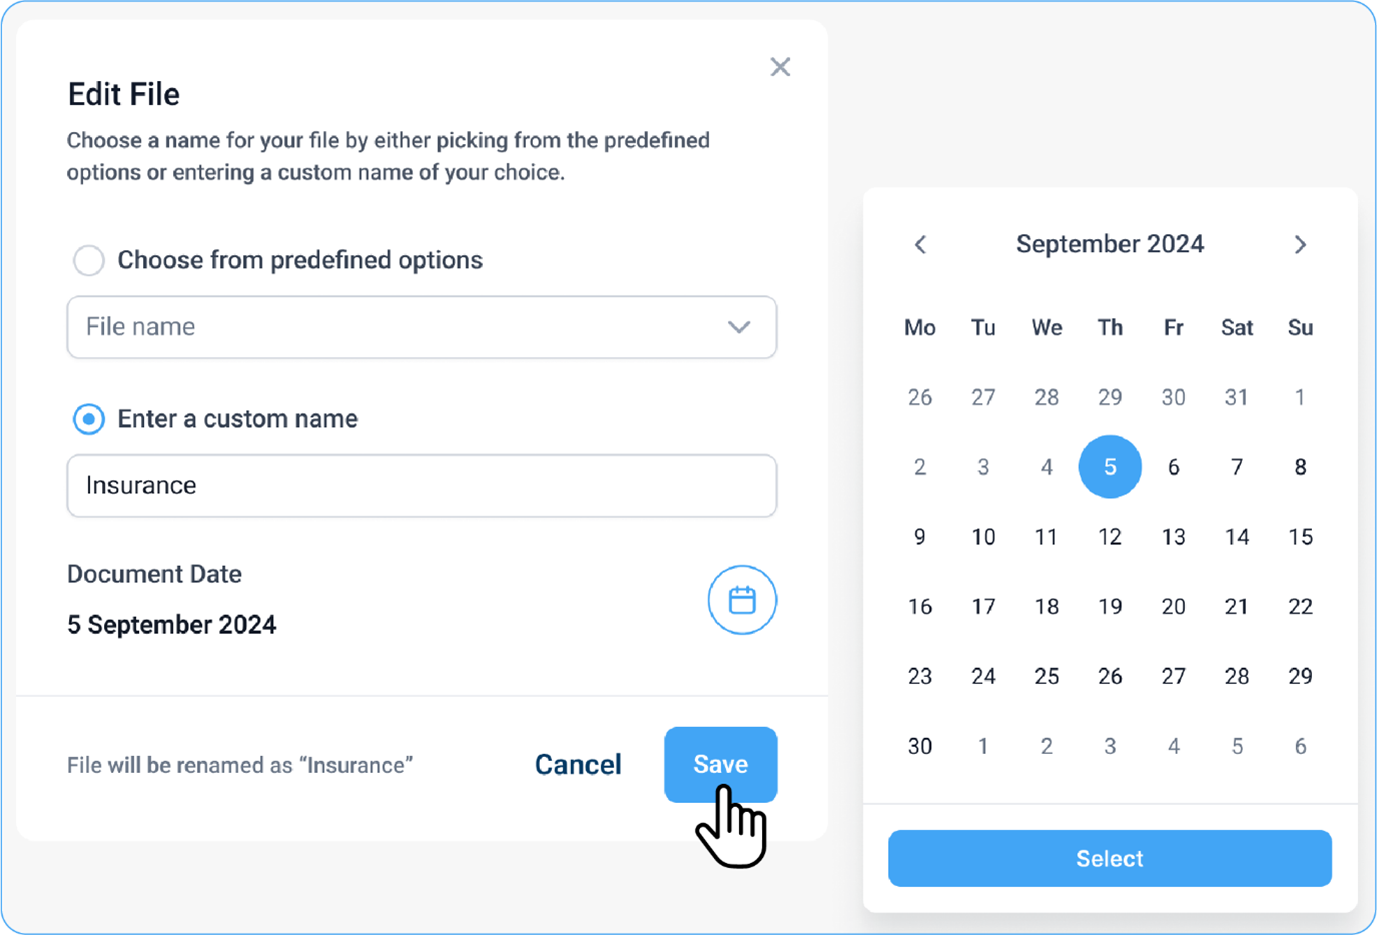
- Modify the following fields as needed:
- Document Name
- Select from predefined options (e.g., Insurance Card, Prescription, Driving License).
- Or enter a custom name manually.
- Document Date
- Adjust using the built-in calendar picker.
- Document Name
Note:
The edit option is unavailable for DICOM files since their data is embedded in the file header.
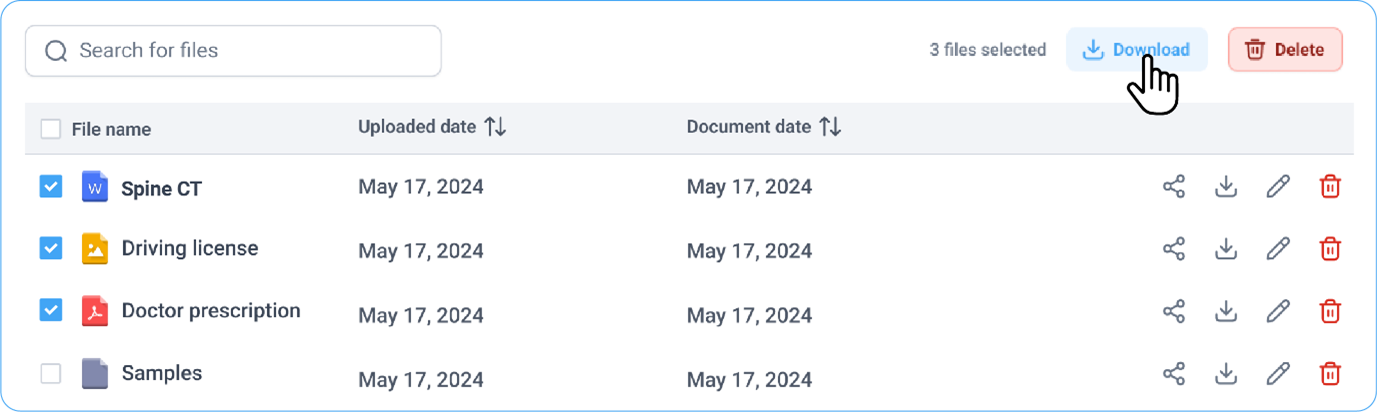
E. Downloading and Deleting Documents
- Select one or more documents to perform the following actions:
- Download – Save copies of the files to your device.
- Delete – Permanently remove files from the portal.
- Multiple files can be downloaded or deleted simultaneously.
F. Sharing Documents
Documents can be shared securely using the following options:
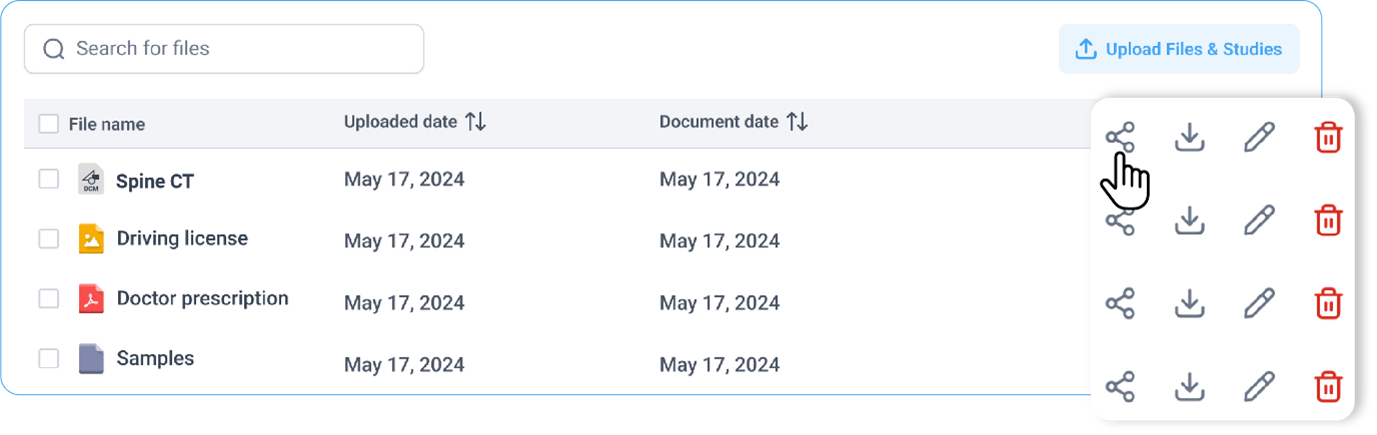
- Share via Email
- Share via Link (Copy Link)
- Share with Healthcare Providers
For detailed instructions, refer to the section Sharing Studies, Reports, or Images.