Rescheduling Appointments
How to reschedule an appointment?
Desktop
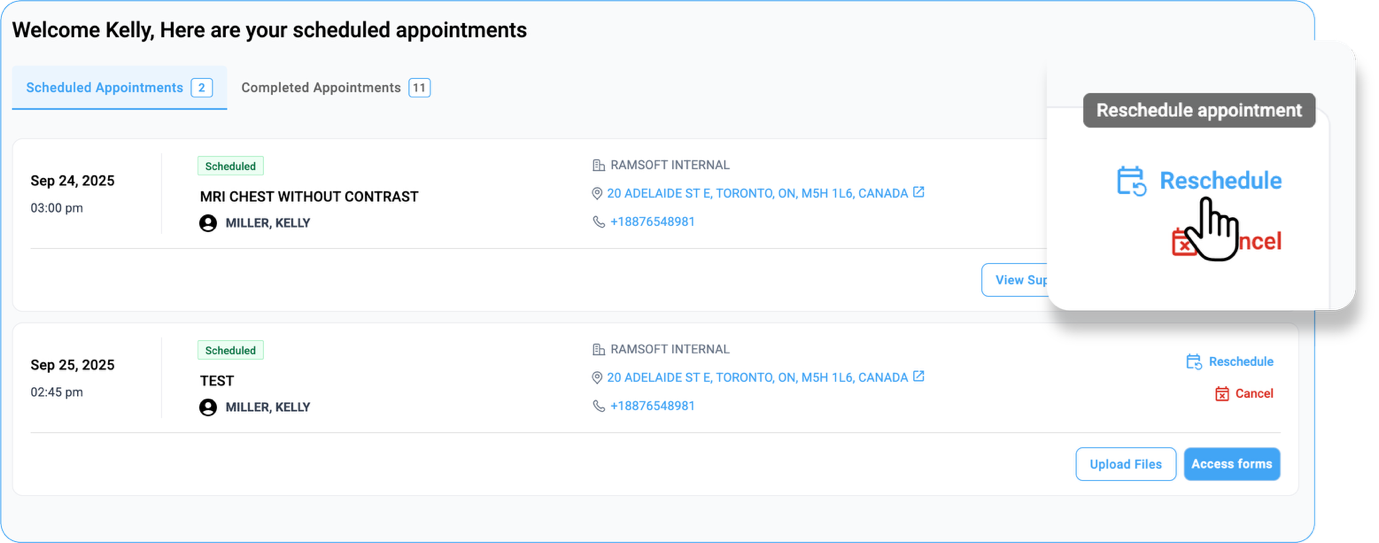
- Under Scheduled Appointments, select the desired appointment with a Scheduled status. The Reschedule and Cancel buttons will appear on the right side of the appointment card.
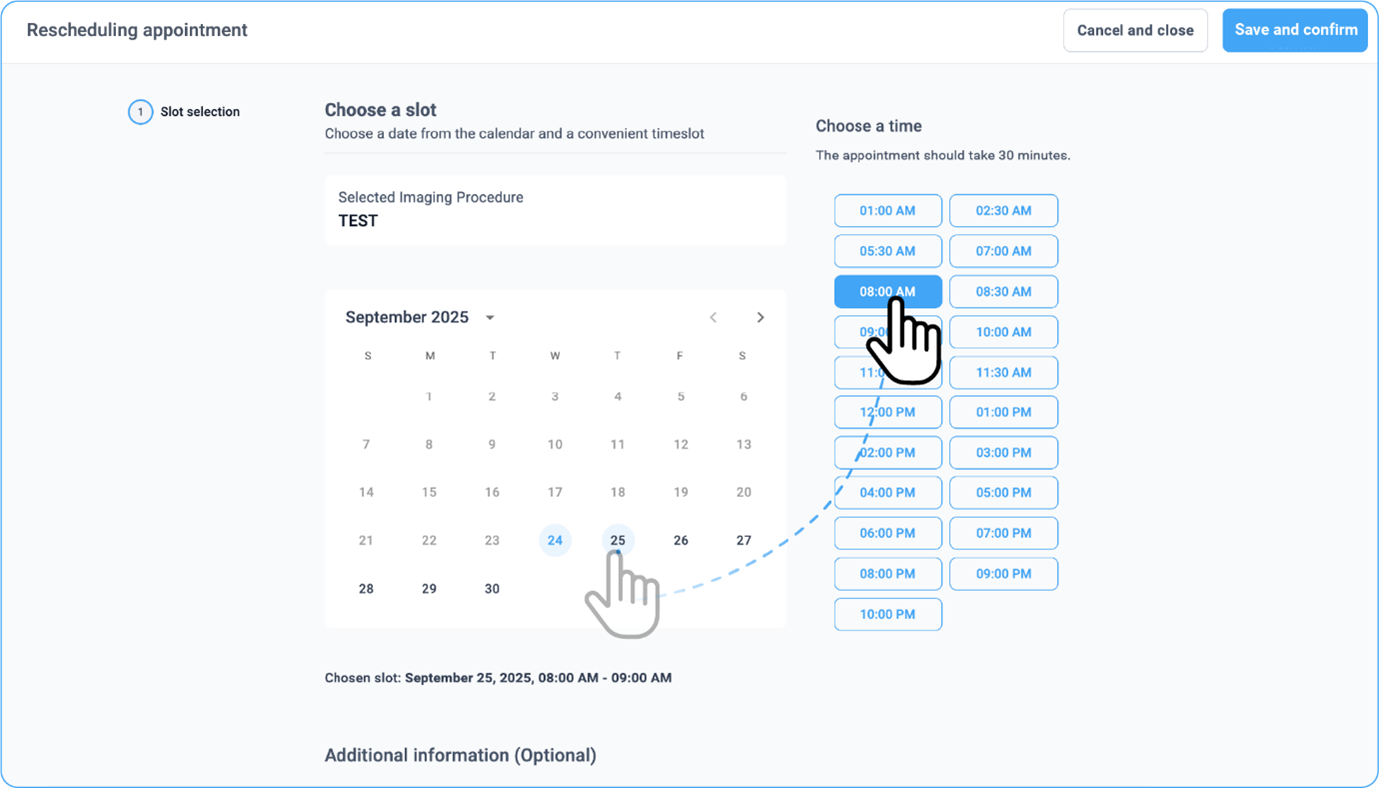
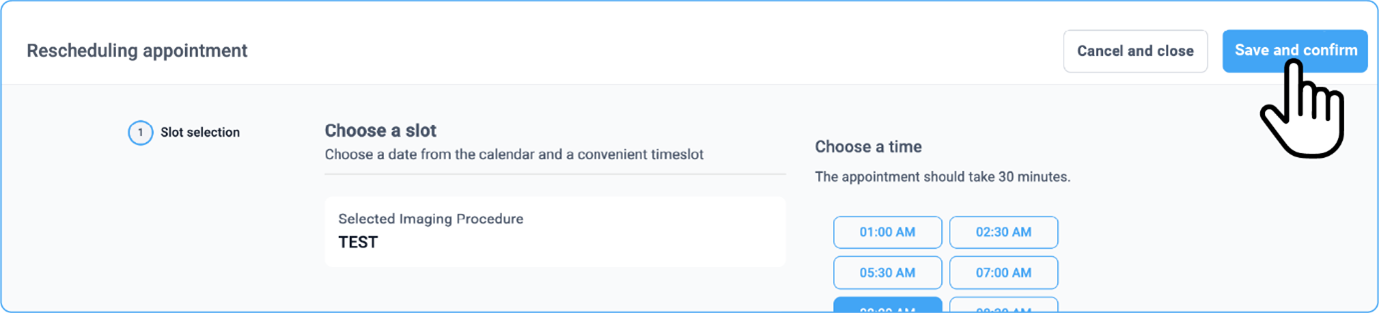
- Choose a slot (date &time) from the slot section
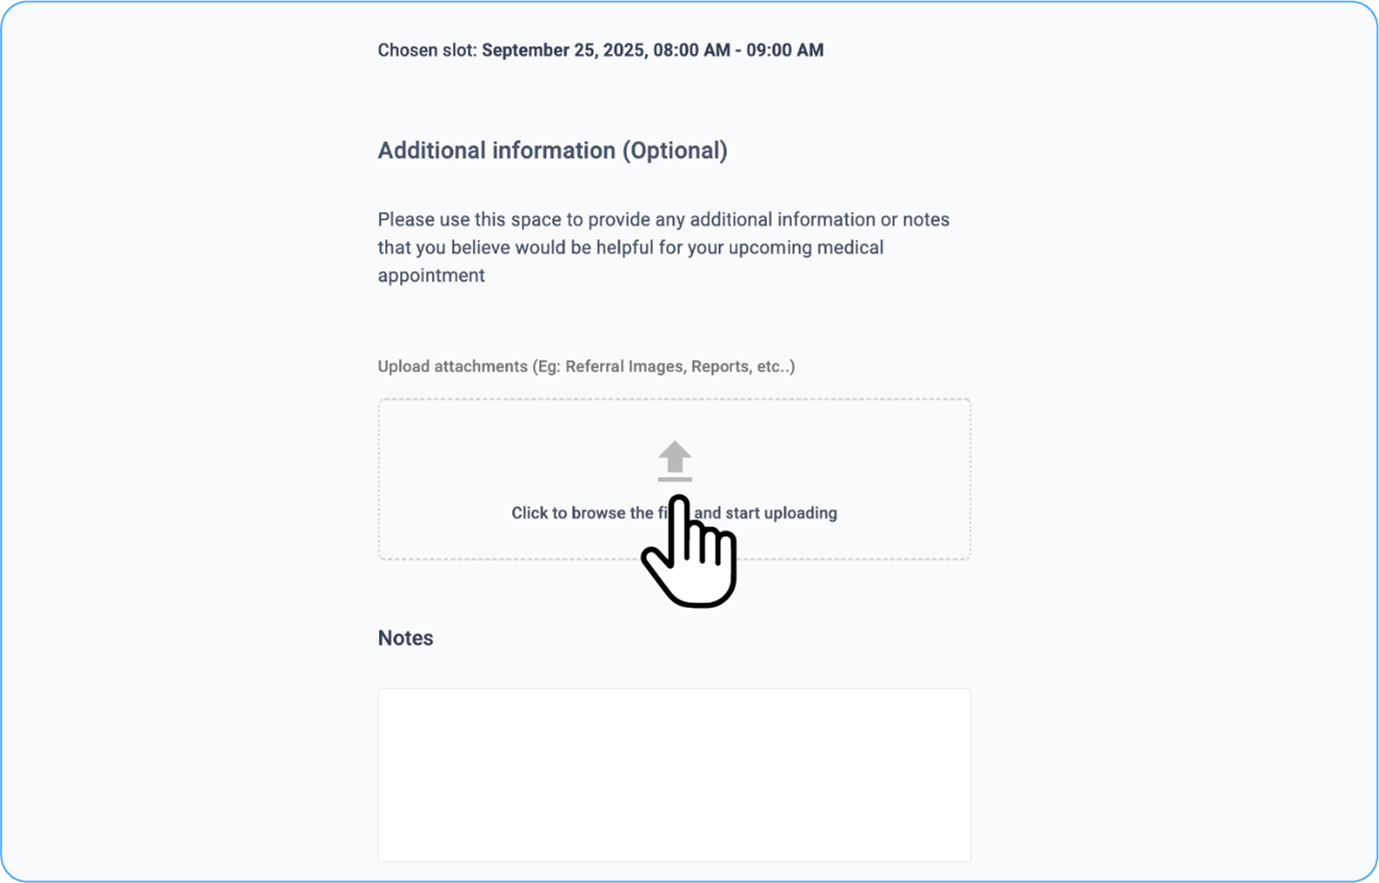
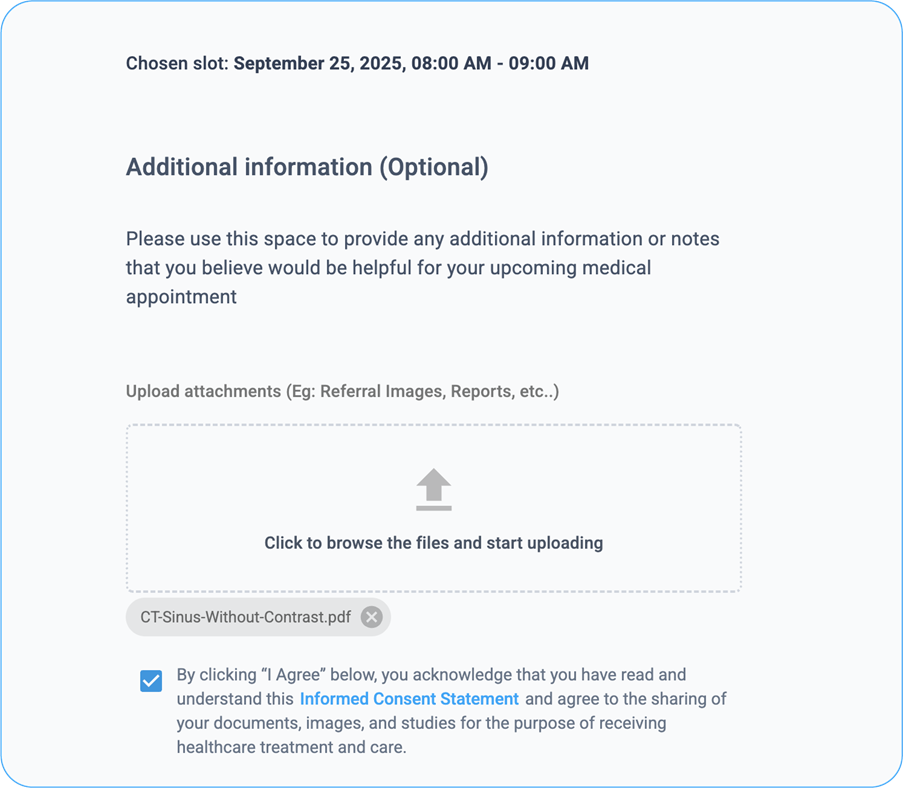
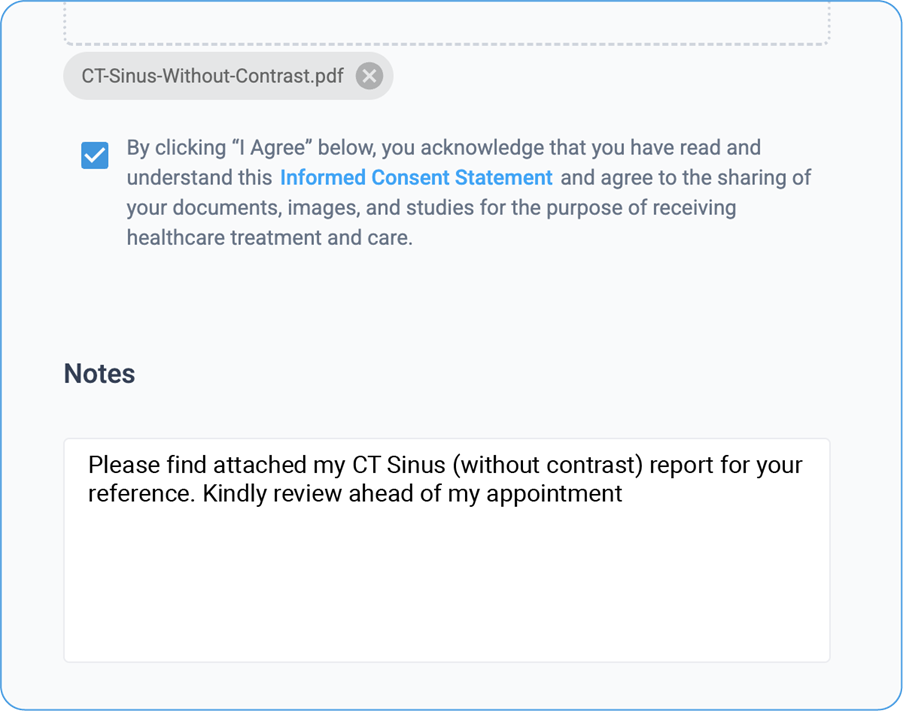
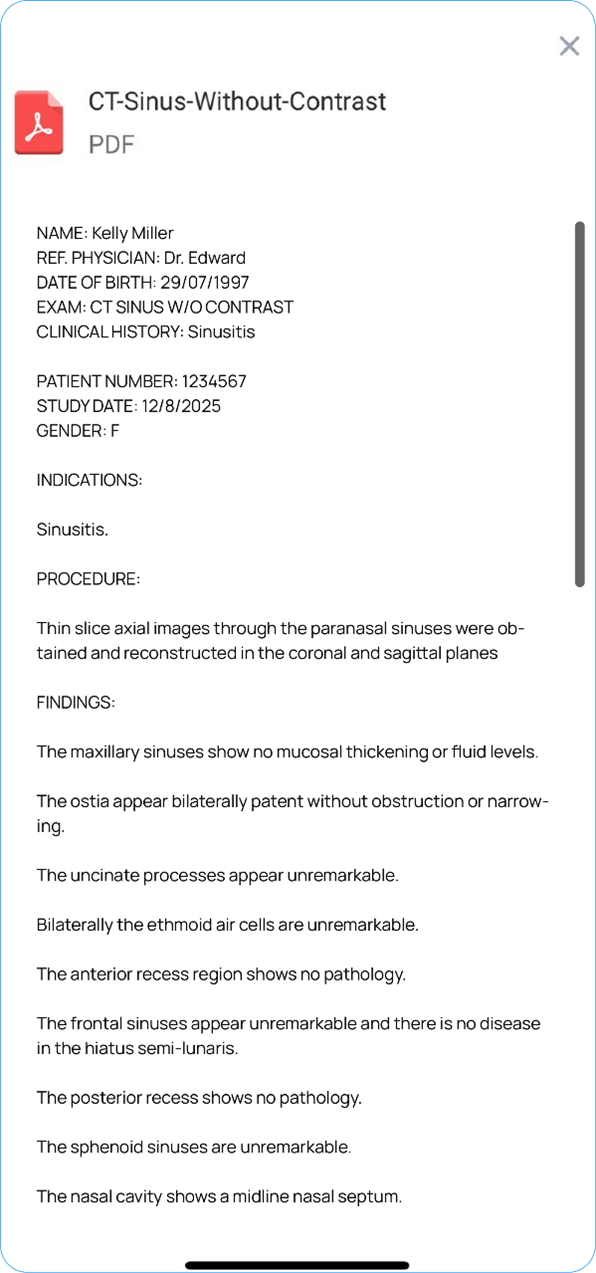
- Upload attachments such as images, reports, or other relevant documents by browsing and selecting files from your system.

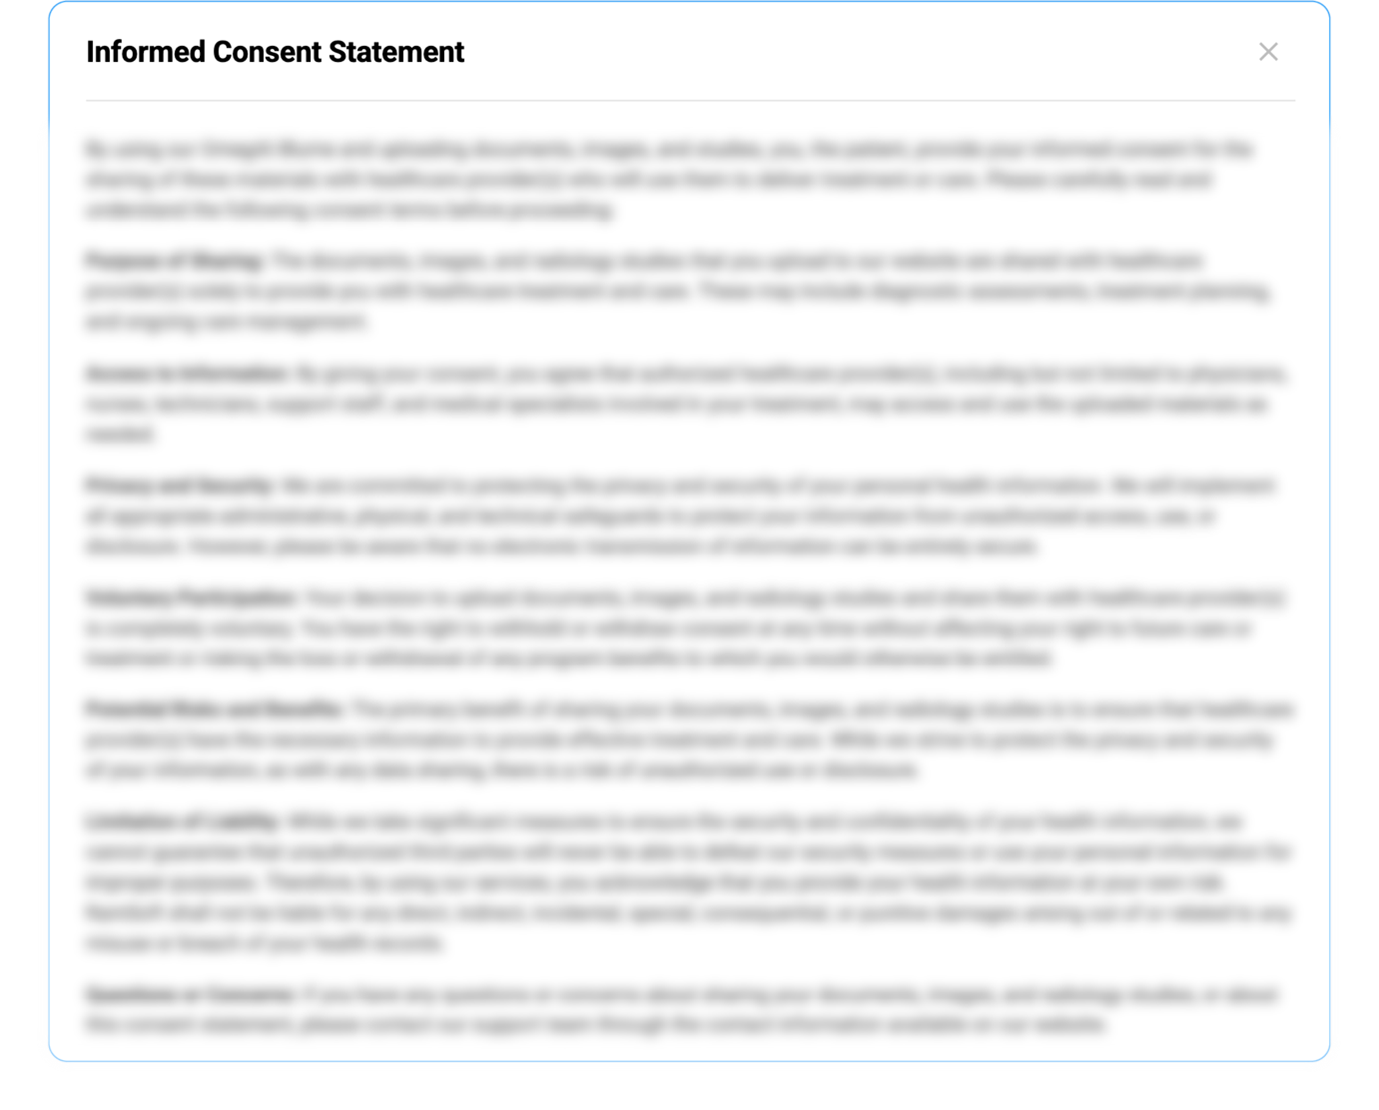
- After carefully reading the Informed Consent, click on it to confirm your agreement.
- You can add any additional notes in the Notes Box.
- Click on the Save and Confirm button on the top right corner of the
page

-
You can cancel and close the page if you change your mind.
-
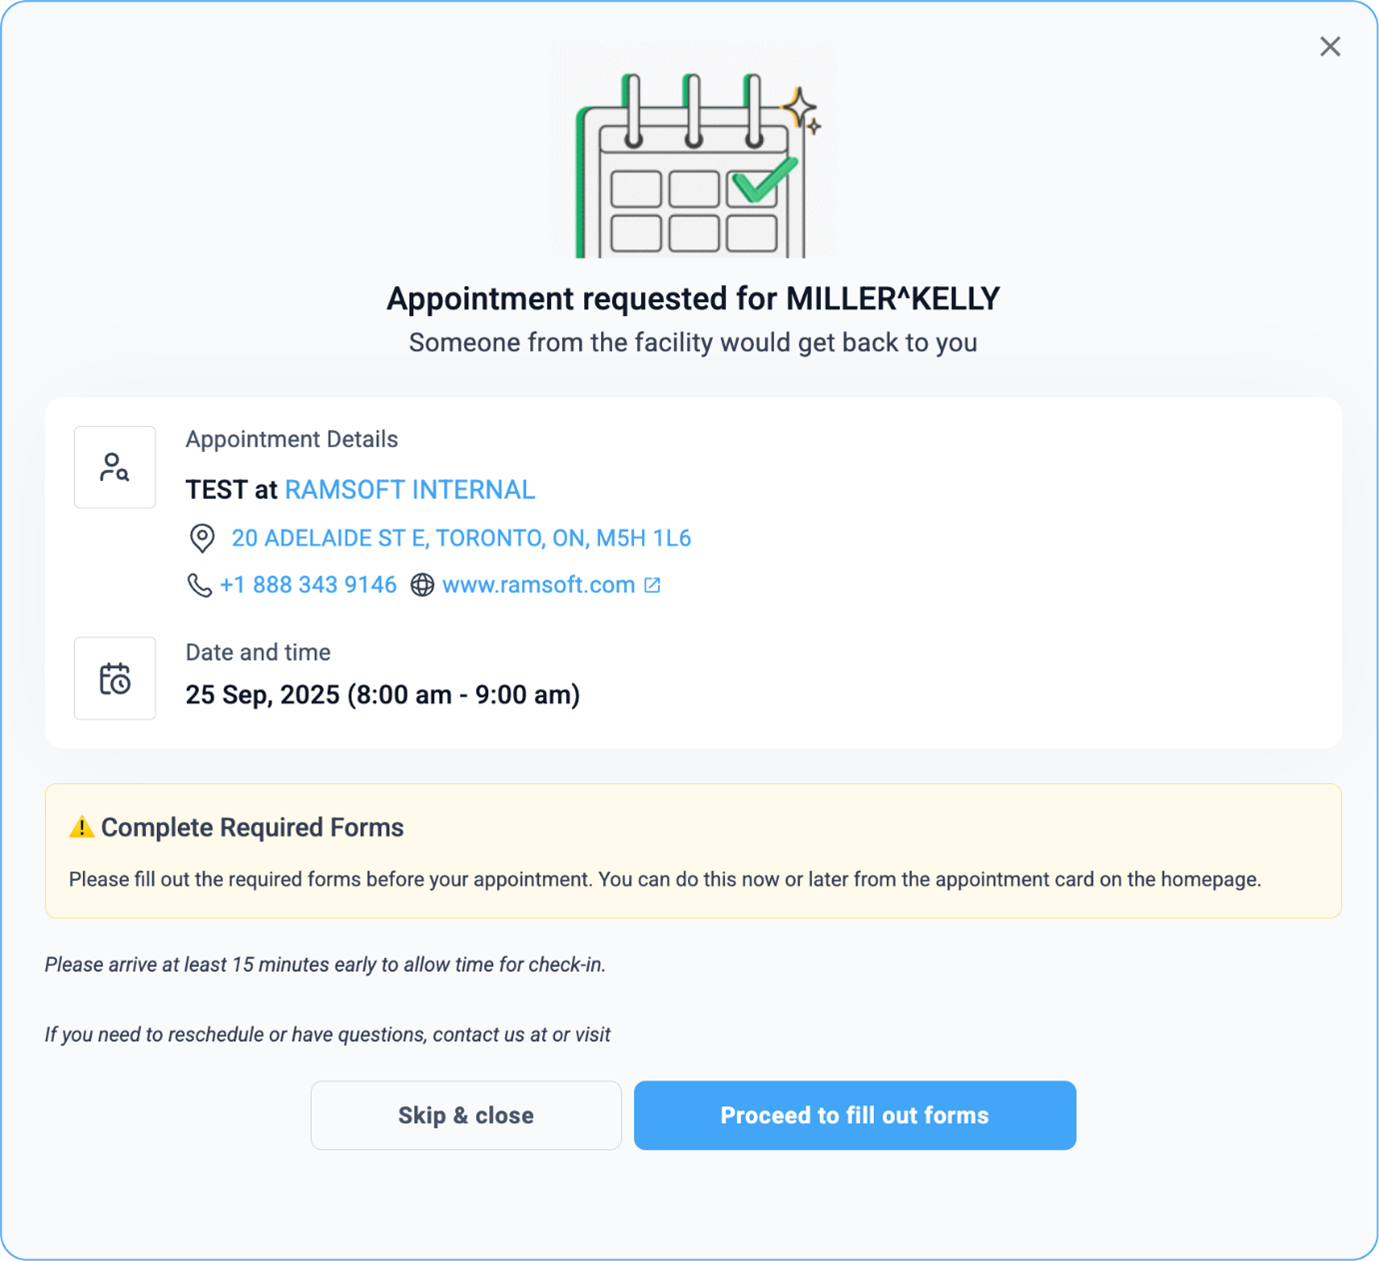
Once your rescheduling request is processed, a success message will appear on screen, and a confirmation email will be sent to your registered address.
Mobile
-
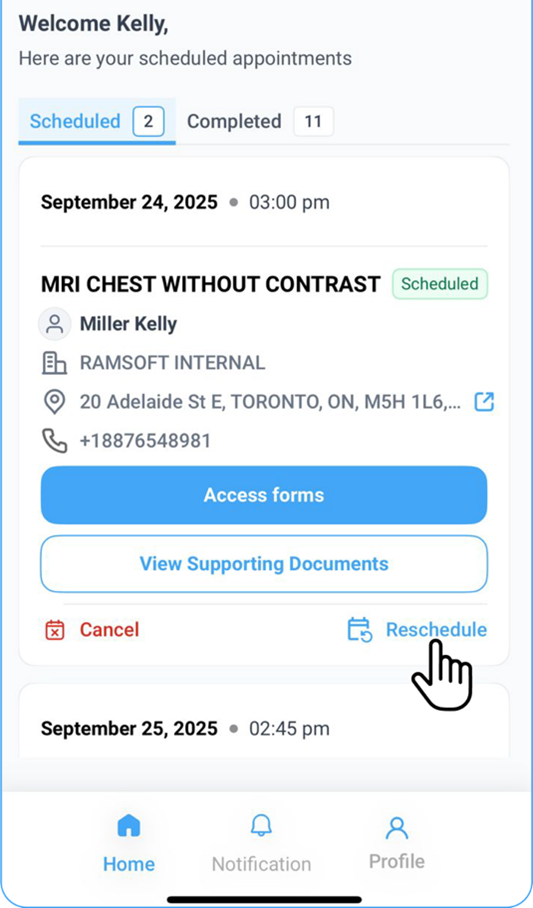
All available options are displayed at the bottom of the selected appointment card.
-
You will see two updated options:
-
Fill Out Forms (formerly labelled as Access Forms).
-
View Supporting Documents (formerly labelled as View Attachments).
-
-
Below these, you’ll find two clear action buttons:
-
Cancel on the left side.
-
Reschedule on the right side.
-
-
Tap the Reschedule button.
-
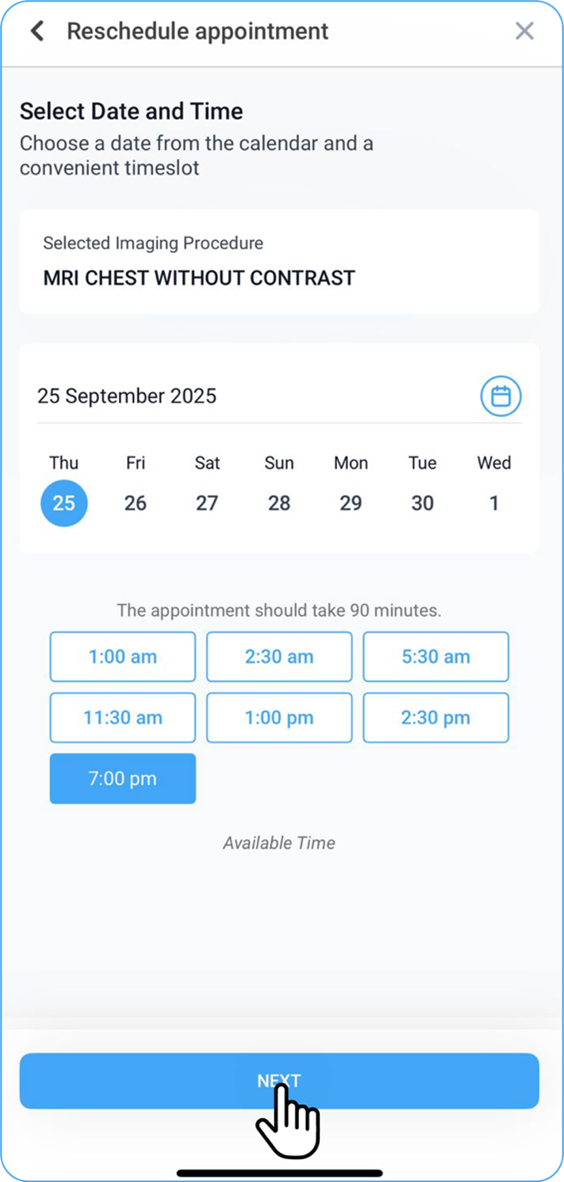
You will be directed to the Reschedule Appointment screen.
-
From here, select an available time/date slot from the calendar shown below.
-
You can click on the calendar to scroll through the future dates for your perusal.
-
Once the new slot is selected, click Next to finalize the rescheduled appointment for the chosen imaging procedure.
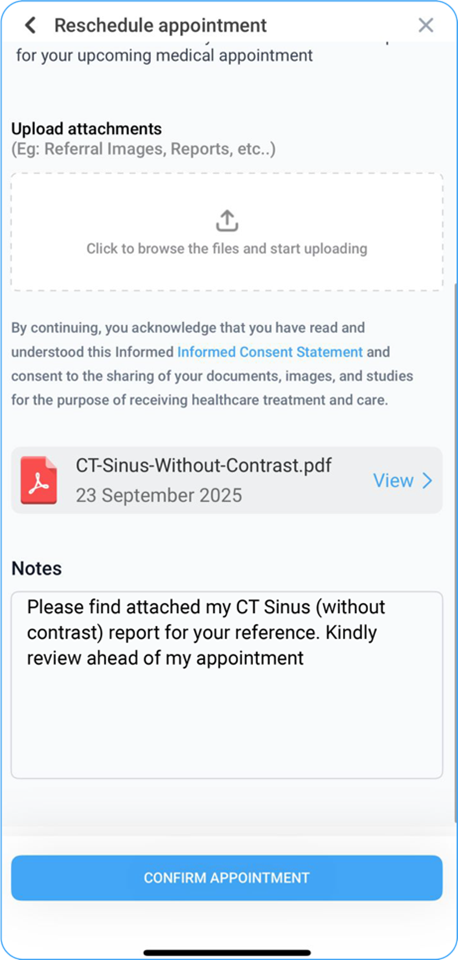
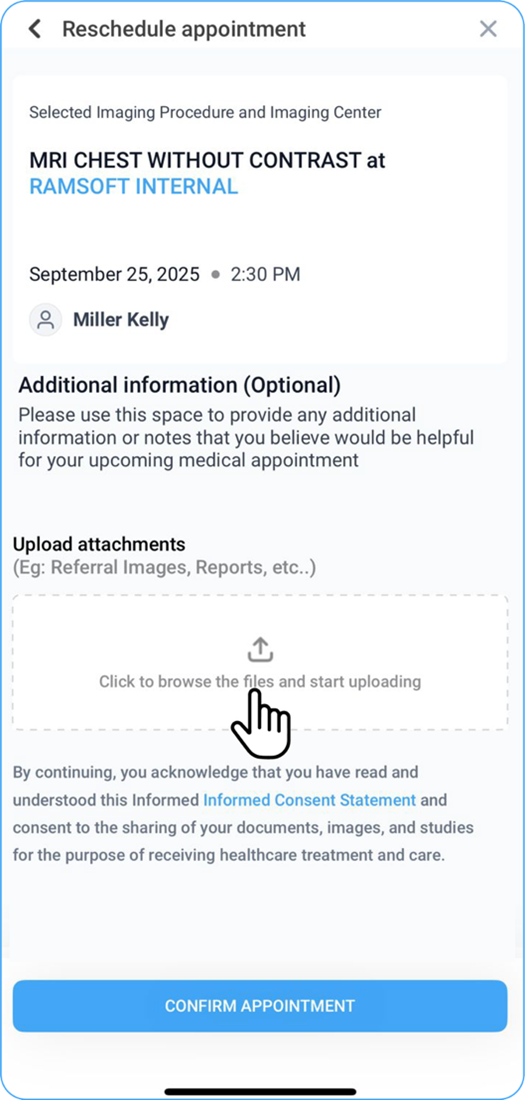
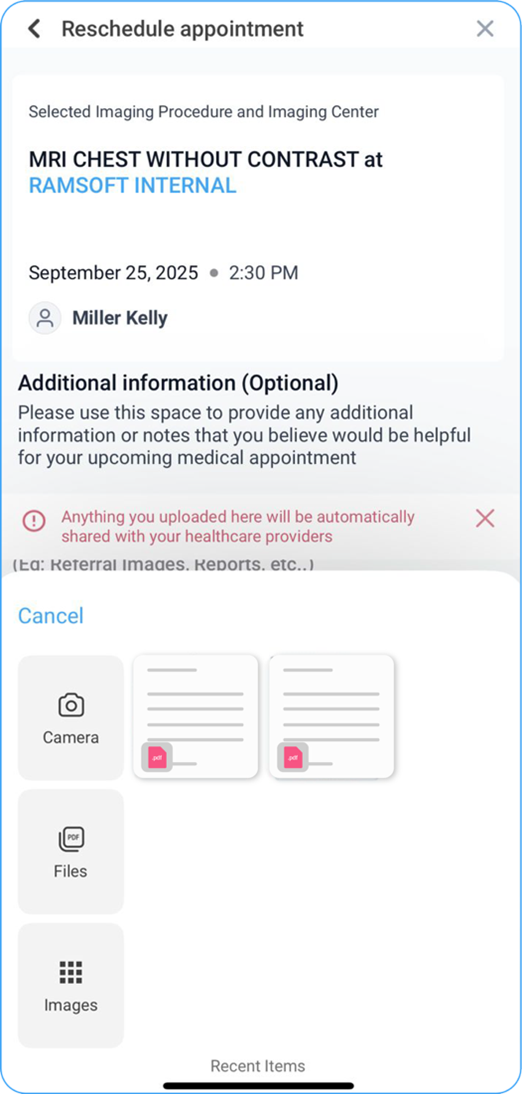
- If you have any additional information (optional), add it in the Notes section.
- To upload supporting documents, click the Add Supporting Documents arrow:
• Choose from available options on your device, or
• Browse files, camera, or images.
• Uploaded documents will appear below the section.
-
Click the Informed Consent Statement to read it. Once documents are uploaded, the statement will be selected by default.

-
When ready, click Confirm and Request Appointment to continue.
-
A toast message will confirm your request, and a confirmation email will be sent to your registered email address.